Your dishwasher is one of the most valuable time-saving devices in your kitchen.
So, what do you do when your dishwasher is grimy or smelly?
To clean a KitchenAid dishwasher, first, remove any food chunks from the machine. Next, thoroughly wipe the inside of the housing, and pay special attention to the area around the gasket. Remove and clean the filter, then run a cycle with cleaning tablets or vinegar to remove any remaining residue. While you’re at it, wash the outside of the appliance with a damp cloth.
Cleaning a KitchenAid dishwasher is straightforward.
You can go from filthy to squeaky clean in only six steps.
Let’s walk through the process.
1. Remove Any Food Residue
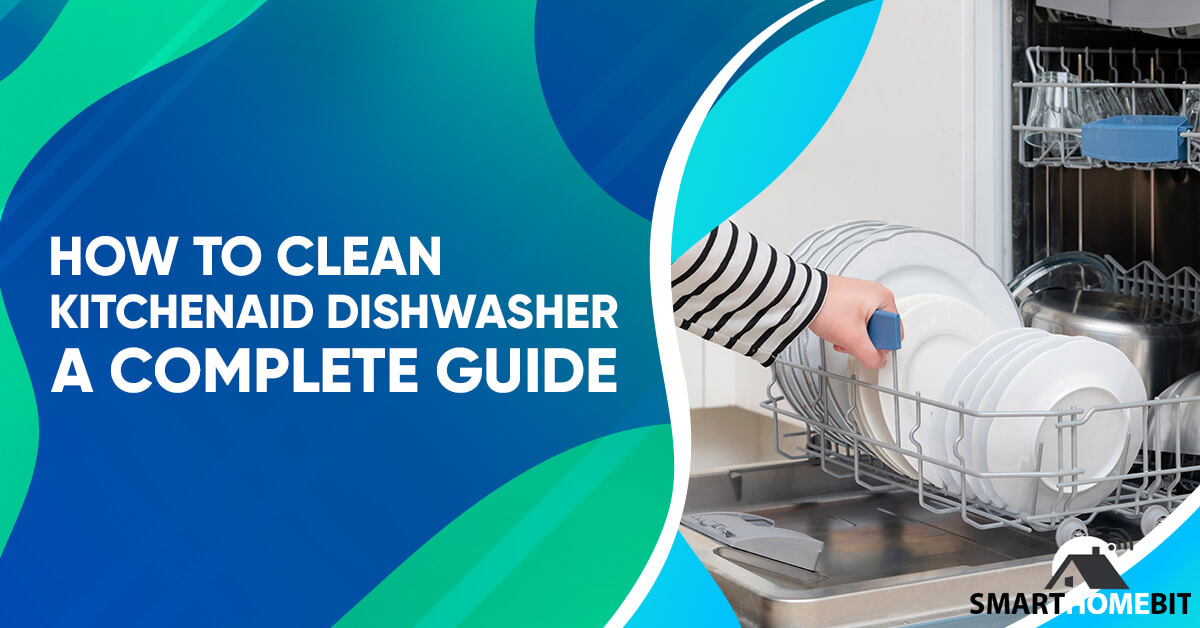
First things first; open your dishwasher and remove the bottom rack.
Use a paper towel to pick up any scraps of food that are caught in the drain.
You should do this after every cycle to keep debris from accumulating.
2. Clean Out Gunk and Mineral Deposits
Grease, limescale, and mineral deposits can accumulate on the inside of your machine.
This buildup doesn’t just look disgusting.
It also impacts your machine’s performance.
As water splashes and sprays around, it can transfer these deposits to your glassware.
You end up with cloudy glassware and half-cleaned dishes.
Use a damp sponge or microfiber cloth to clean the sides and back of the unit.
Pay particular attention to the inside of the door and the area around the gasket.
The gasket can be particularly tricky since gunk likes to cling to it.
A soft-bristled toothbrush is the best tool for the job.
It’s tough enough to free up debris, but not tough enough to damage the rubber.
3. Clean Your Dishwasher Filter
Your dishwasher has a built-in filter that catches debris and keeps it out of the discharge pump.
Depending on how often you run a cycle, you’ll need to clean it approximately once a month.
Otherwise, water won’t be able to flow out of the machine, and your performance will suffer.
What follows is a general guide; check your manual before you take anything apart.
On most KitchenAid models, the filters are located at the bottom of the housing, beneath the strainer rack.
You need to remove the rack to access it, which will work differently on different models.
In most cases, you’ll need a screwdriver with a set of Torx bits.
Once the strainer is free, it’s time to remove the filter.
Turn it 90 degrees to the left, and it should be easy to lift out.
Do this gently; the filter isn’t flimsy, but it’s easy to damage if you squeeze it or yank on it.
It also has a two-part design.
After lifting out the upper portion, the lower portion is easy to remove.
Rinse the filter under the faucet in warm water, which should remove most debris.
For more stubborn gunk, fill your sink with warm water and mild soap, and soak the filter.
After a few minutes, you can scrub it clean with a soft-bristle toothbrush.
Don’t use a wire brush under any circumstances; it could easily damage your filter.
Now that the filter is clean, it’s time to put it back in your dishwasher.
First, insert the lower filter, and make sure the tabs are lined up correctly.
The upper filter should now slide easily into the opening.
Twist it until it drops into place, and verify that it can’t be turned clockwise any further.
This is important.
The filter can come loose if it’s not locked in and cause serious damage to your discharge pump.
Some KitchenAid dishwasher filters don’t require any cleaning.
Instead, there’s a cup in the dishwasher that collects debris that would have gone into the pump.
You need to empty it occasionally, but it’s easier than cleaning a filter.
4. Use Cleaning Tablets
Sometimes, it can be hard to scrub out all of your dishwasher’s nooks and crannies.
Cleaning tablets can be an effective solution for those tough-to-reach areas.
You put one in your dishwasher, then run a normal cycle.
You can even use many brands of tablets with your dishes inside.
Consult your manual before using cleaning tablets.
Not all tablets are compatible with all KitchenAid dishwashers.
5. Use Vinegar or Baking Soda
Vinegar and baking soda are reliable alternatives if you prefer not to use cleaning tablets.
Both will remove scaling and other deposits on the inside of your dishwasher.
To clean your KitchenAid dishwasher with vinegar, pour 2 cups of white vinegar into the bottom of the machine.
Then run an ordinary washing cycle without any detergent.
Set the dry option to energy-saving or air-dry mode.
Otherwise, some residue will remain on the inside of your machine.
To use baking soda, pour 1 cup into the bottom of your dishwasher.
Then run a short wash cycle using the hot water option.
Baking soda isn’t quite as effective as vinegar, but be careful.
Vinegar is acidic and can damage the inside of some dishwashers.
Check your owner’s manual before you use any cleaning method.
6. Keep the Outside Clean
While you’re cleaning the inside of your dishwasher, it doesn’t hurt to make sure that the inside is spic-and-span.
You can use a soft cloth with warm water and mild soap on most dishwashers.
Stainless steel dishwashers require more specialized attention.
Regular detergent will still work but can leave a cloudy finish.
Specialized stainless steel cleaners will leave it bright and shiny.
Use smooth, back-and-forth motions, and follow the grain if your machine has a brushed finish.
Whatever you do, never use an abrasive cleaning product on stainless steel.
It can etch the finish.
What About Odors and Mineral Buildup?
Even if you clean your dishwasher religiously, you may notice an unpleasant smell.
This most often happens when you don’t run your dishwasher for a couple of days.
There’s a little standing water in the bottom, which can create a musty smell.
When this happens, you can eliminate the odor by running a short “rinse only” cycle.
Other odors can come from lubricants and varnishes used in the manufacturing process.
Chemical odors will clear by themselves within a month or so.
A white vinegar wash can speed things up, but it won’t make the smell disappear immediately.
Mineral buildup is rarely a serious concern, but if your house has hard water, limescale and other minerals can become a problem.
A liquid rinse aid can help by ensuring that minerals remain dissolved during the rinse cycle.
Top off the dispenser once a week or so, and you should never have any trouble.
In Summary – Keeping Your KitchenAid Dishwasher Clean
KitchenAid dishwashers are easy to clean.
First, remove any large debris, then wipe down the interior with mild soap.
Cleaning the filter is the hardest part, depending on your model.
Other than that, it’s a matter of regular maintenance.
Use cleaning tablets, vinegar, or baking soda to keep scaling at bay, and use a liquid rinse aid to neutralize hard water.
Follow these steps, and your dishwasher will always be clean.
FAQs
What supplies do I need to clean my KitchenAid dishwasher?
To clean your KitchenAid dishwasher, you’ll need the following supplies:
- Sponge or lint-free cloth
- Warm water
- Mild detergent
- Soft-bristled toothbrush
- Stainless steel cleaner (if necessary)
Do all KitchenAid dishwashers have filters?
Yes.
However, not all KitchenAid dishwasher filters are the same
Some need to be cleaned regularly for the machine to operate.
Others only have a small debris cup that needs to be emptied occasionally.
Always read your manual before removing your filter.
You’ll avoid unnecessary headaches or damage to your machine
What happens if I don’t clean my KitchenAid dishwasher?
Over time, bits of food and other debris will collect in your filter.
In the best case, your dishwasher will eventually smell like a rancid compost heap.
In the worst case, your filter can become completely clogged and cause your discharge pump to fail.